It is not the first time I have done this and it is a real pleasure to do each time. But each time it presents new challenges.
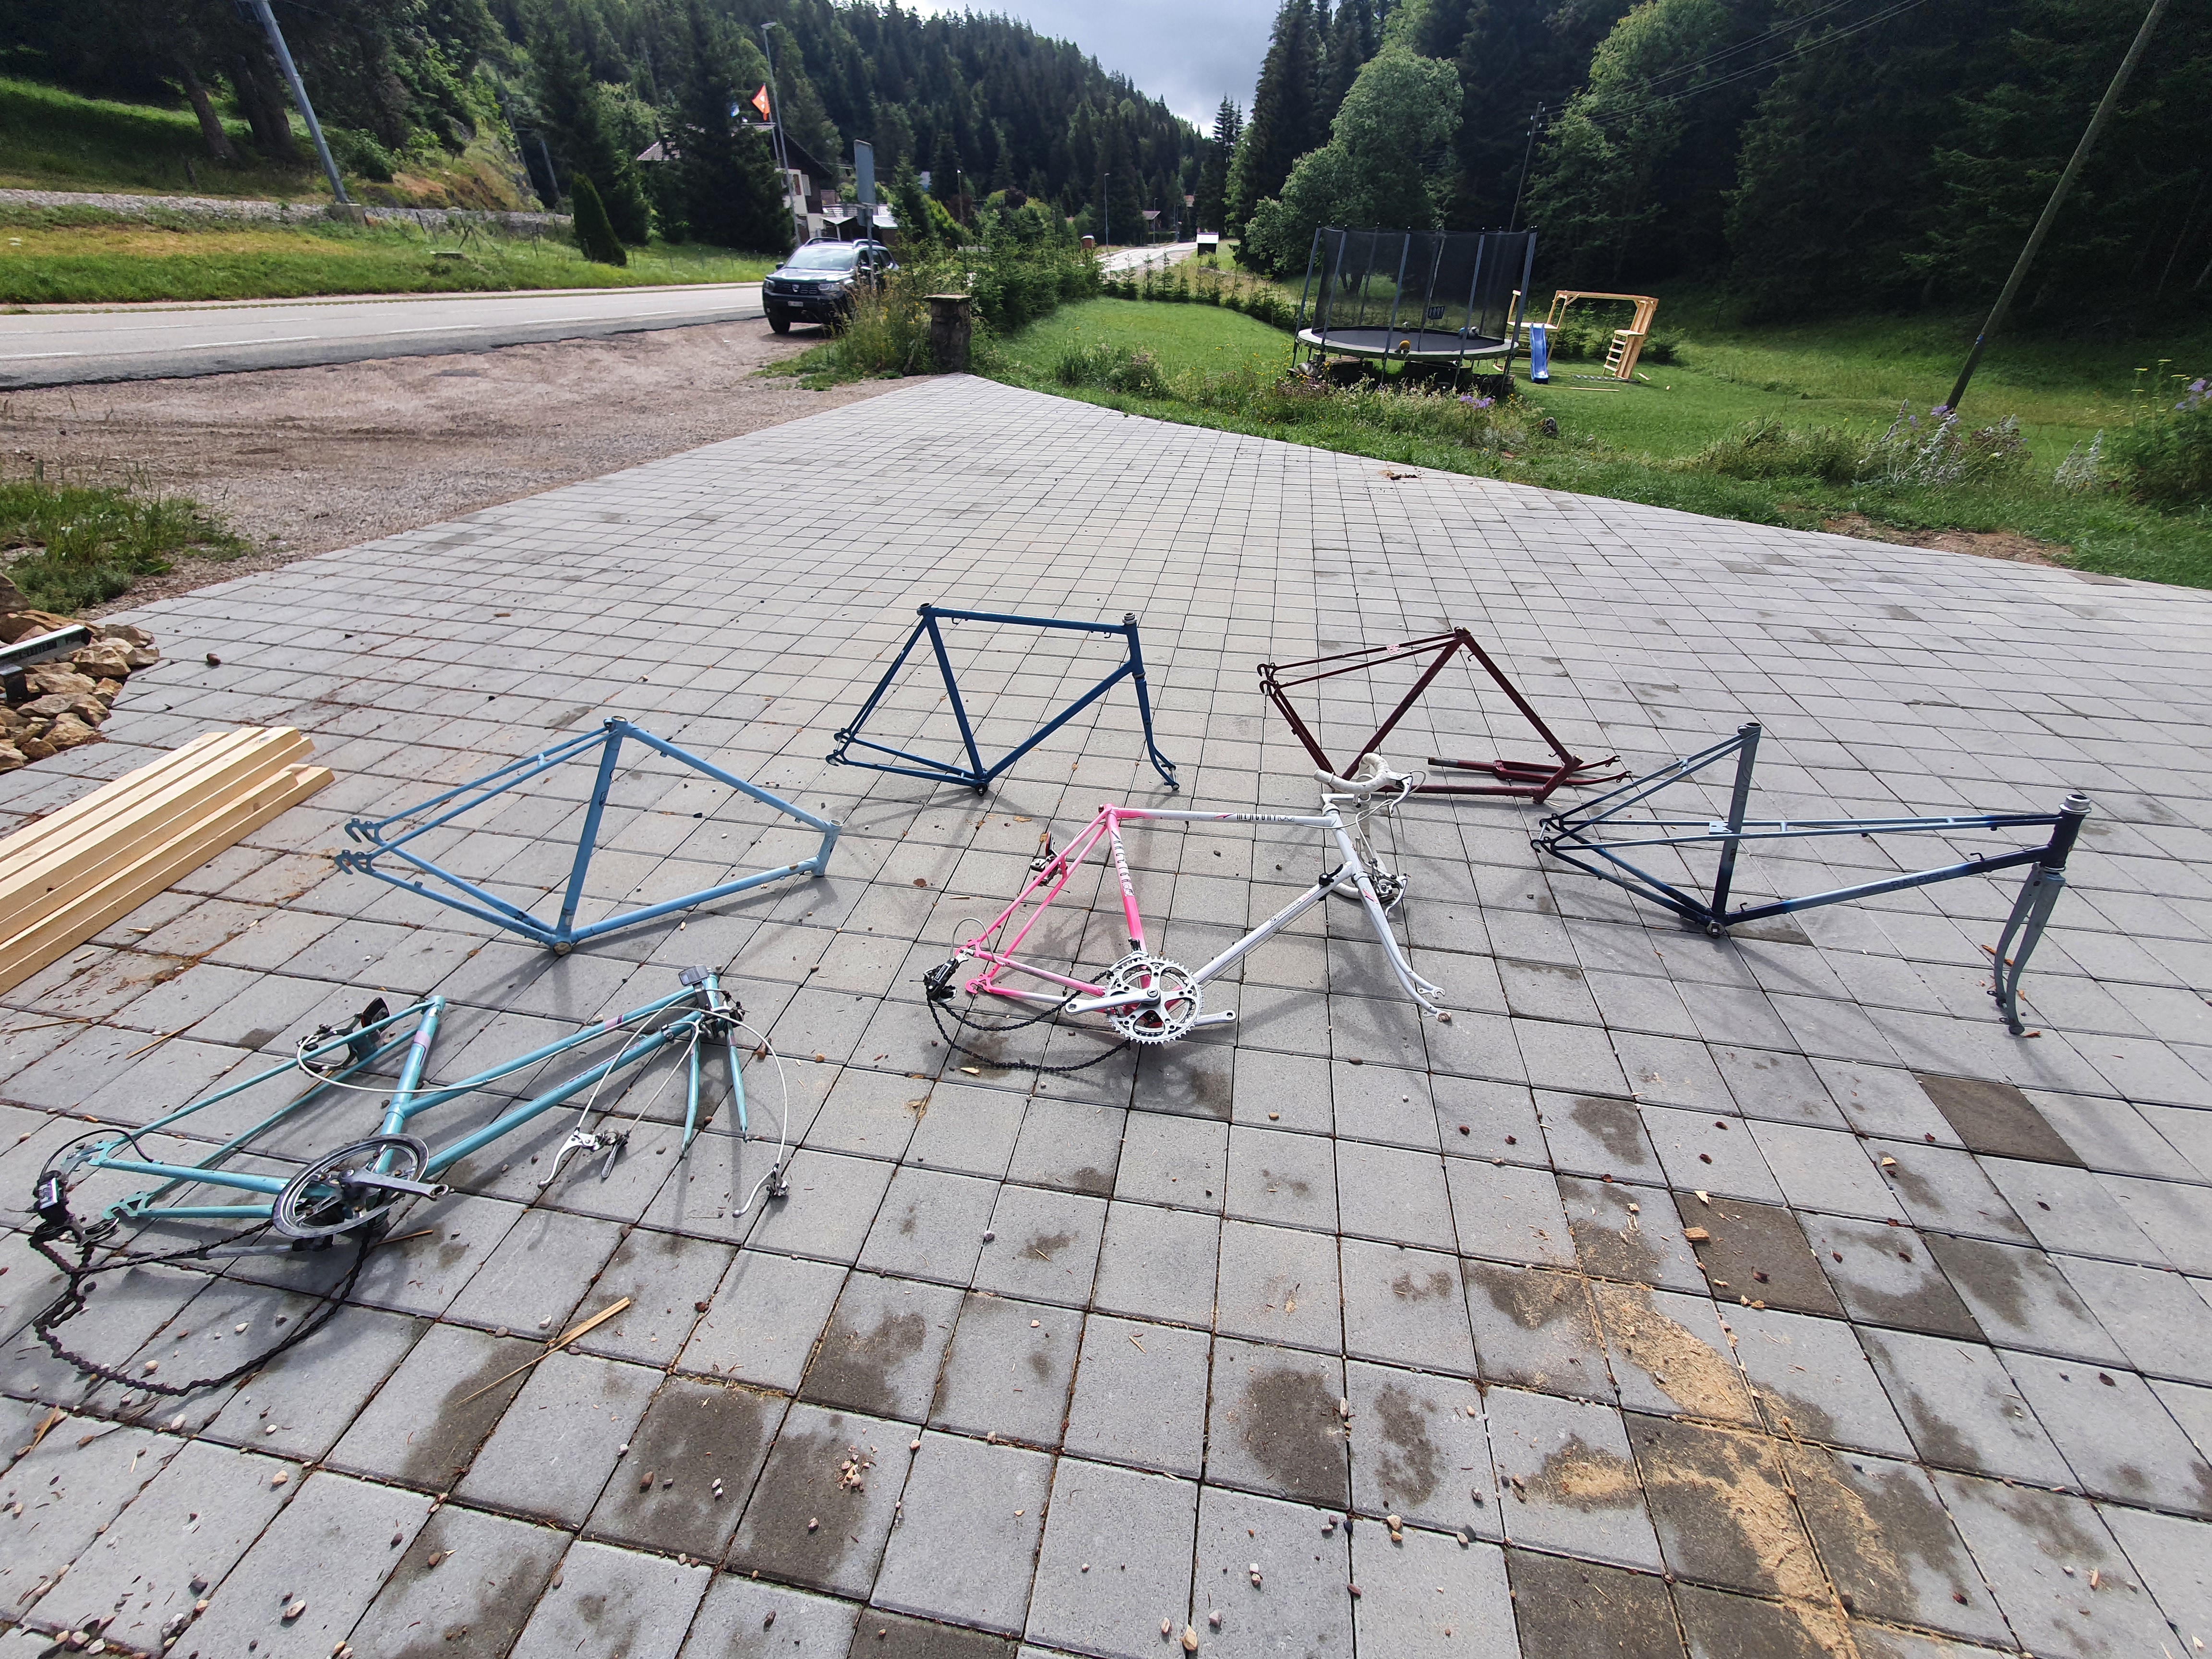
This frame was in a good condition although the paint was in major need of work and it was also lacking any clear branding that I could find proper heritage for. This would normally cause problems with a restoration project as you need to be able to get the proper decals to place on the frame after it has been repainted. Luckily, the customer I had in mind for this project didn't mind to have a clean frame with no branding on it.

The process of building the bike requires a fair amount of planning but it is a lot of fun to do. First I had to take the frame and measure up the bottom bracket, the fork tubes and the seat post tube.
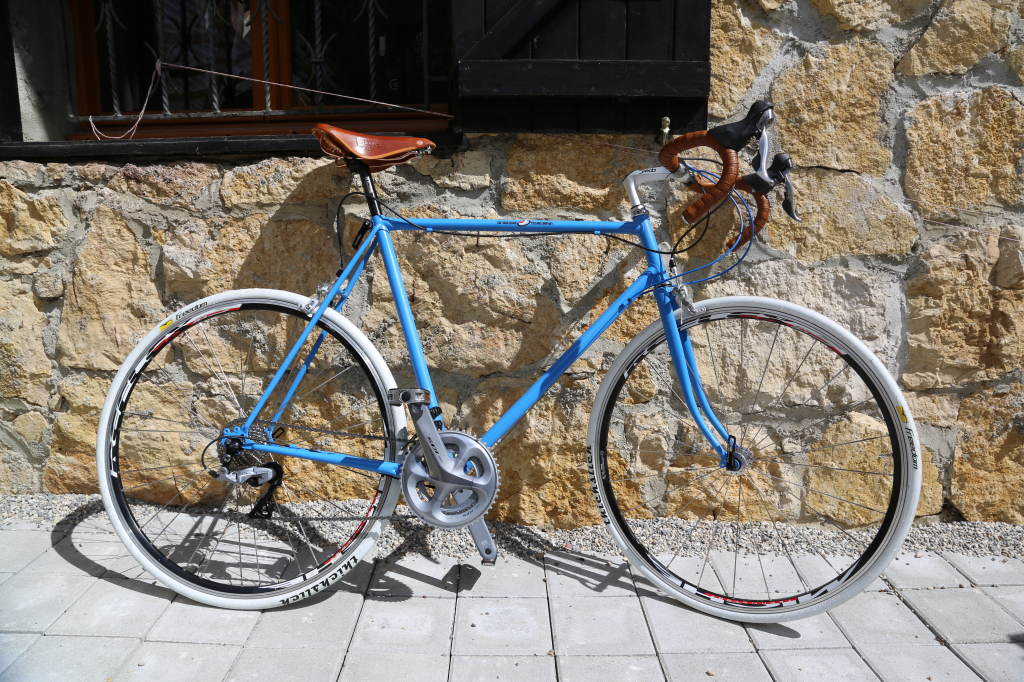
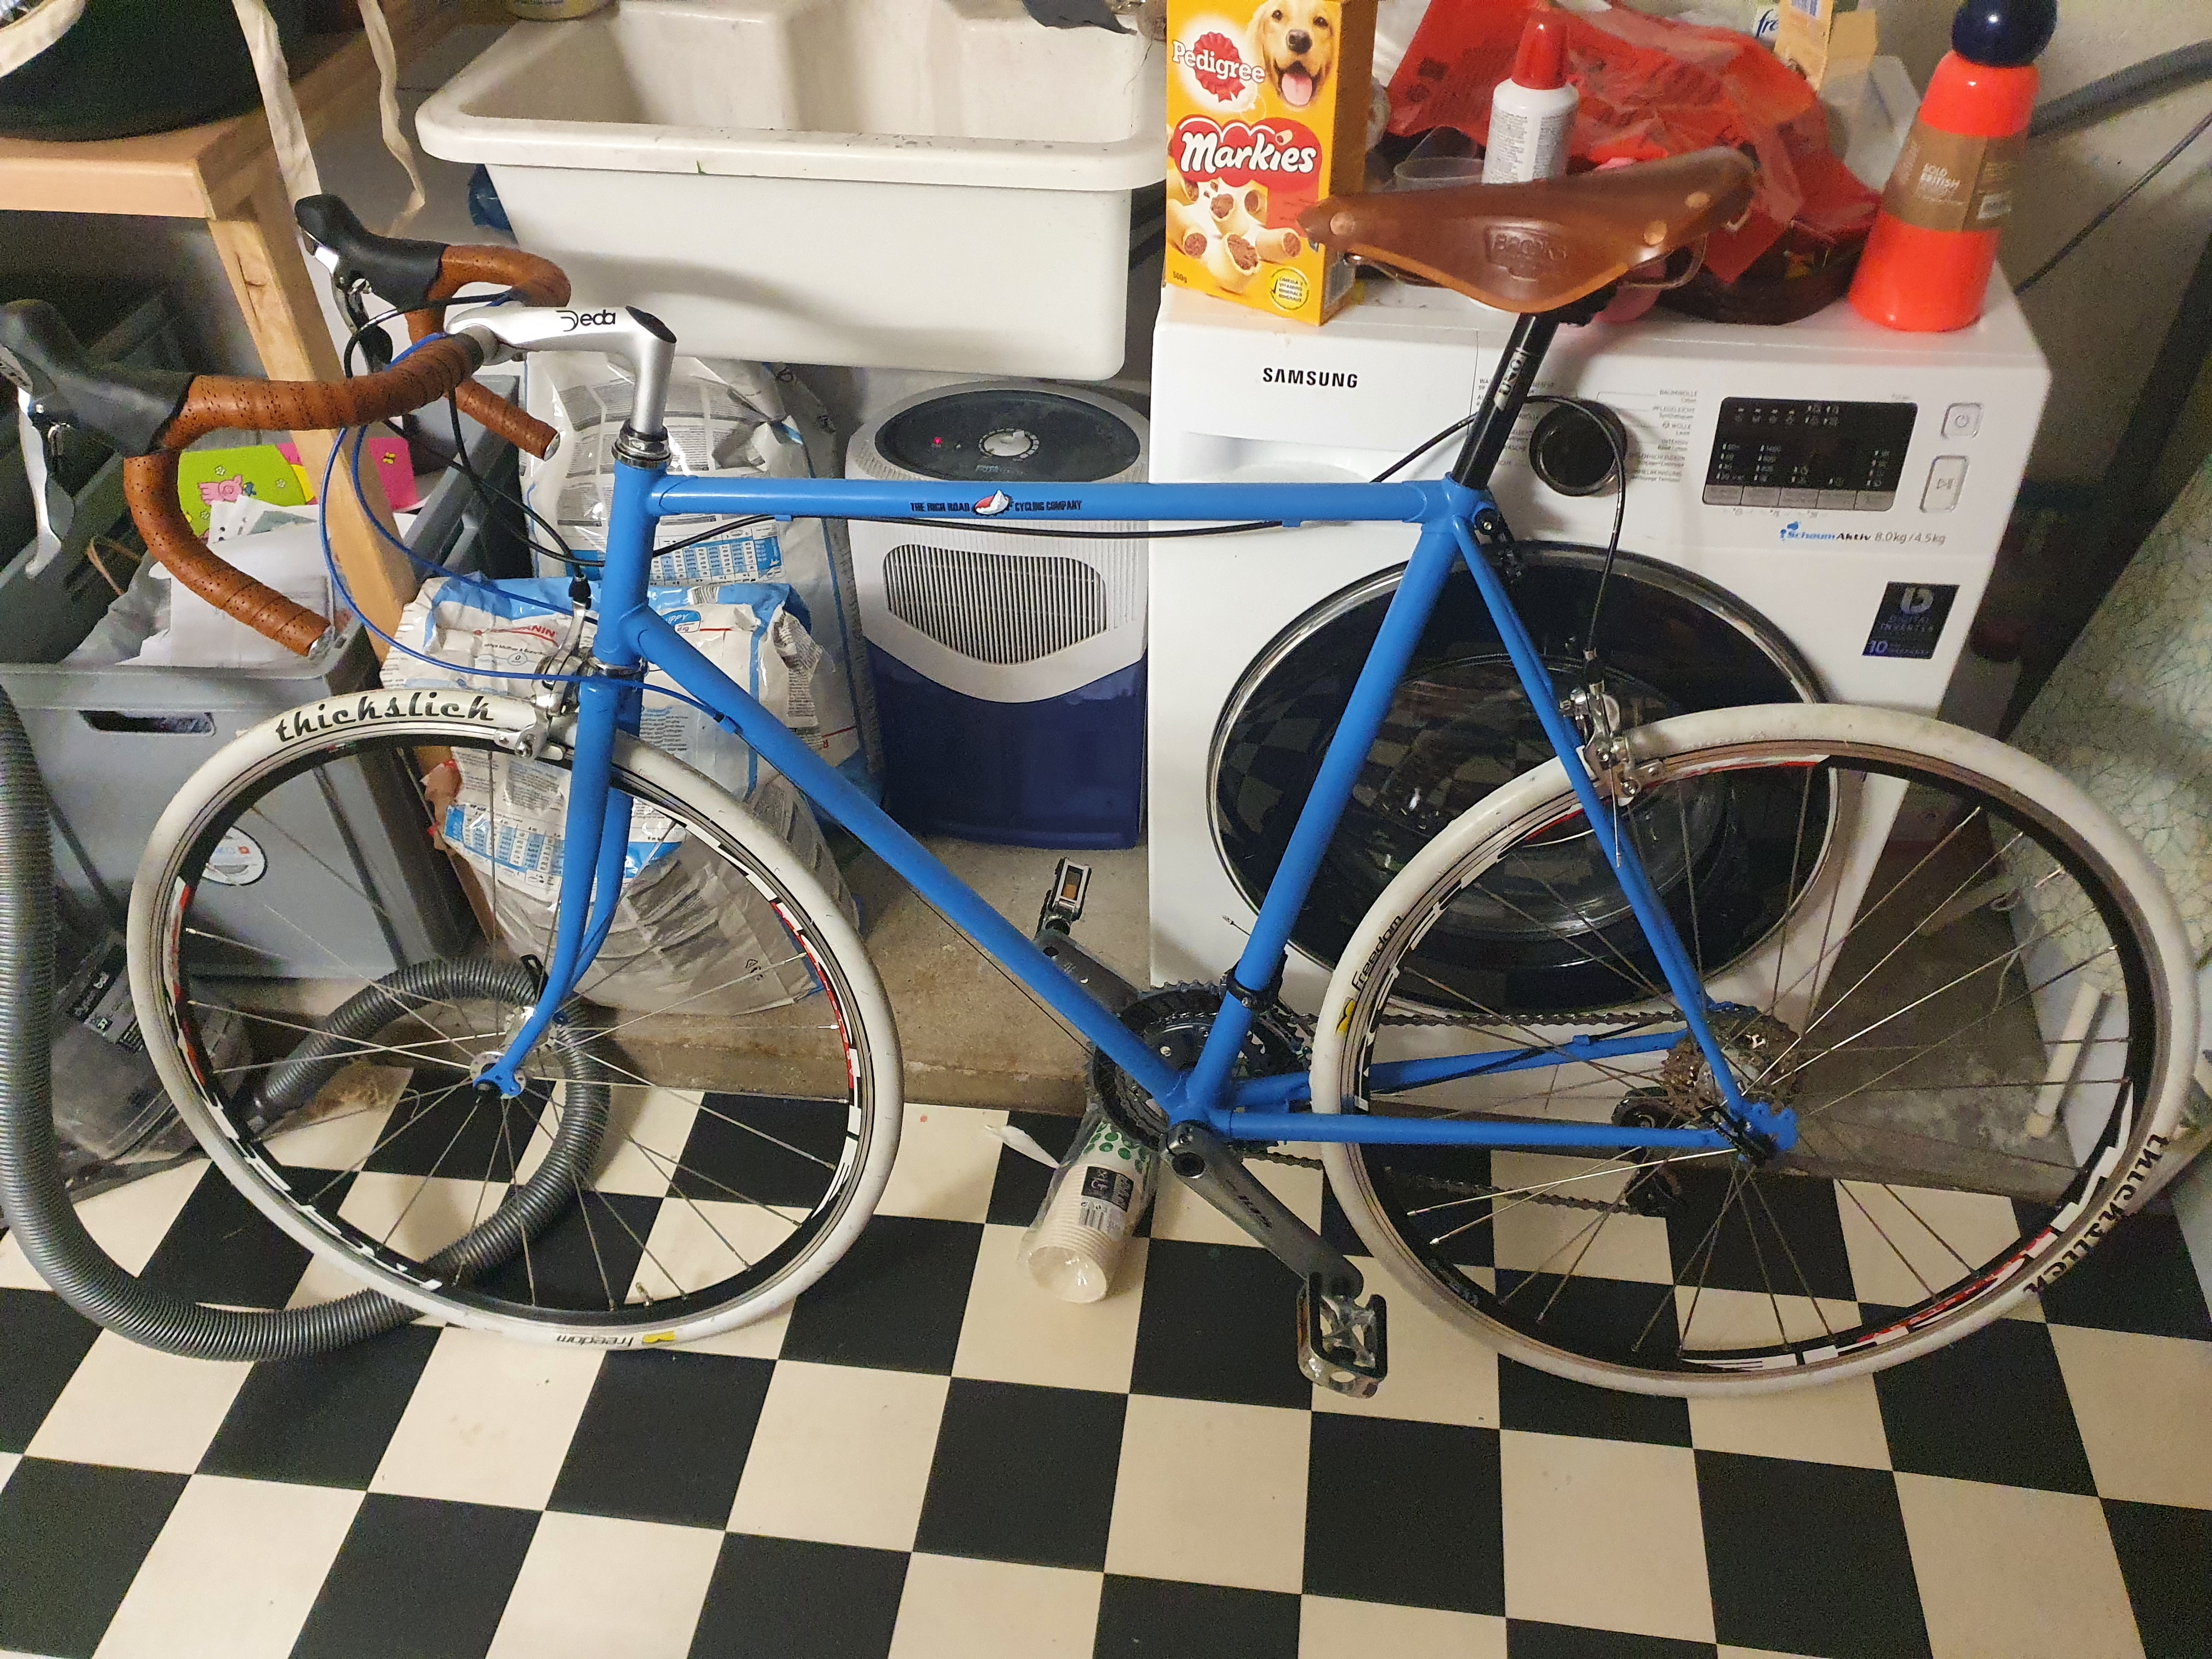
Next working with the customer I needed to get an idea of what it is they wanted the final bike to look like, colour, finishing, components and with all of this in mind the price point for the bike as well. For this bike we decided to go with a similar blue to the original, brown leather grip tape and saddle and then a 105 groupset.
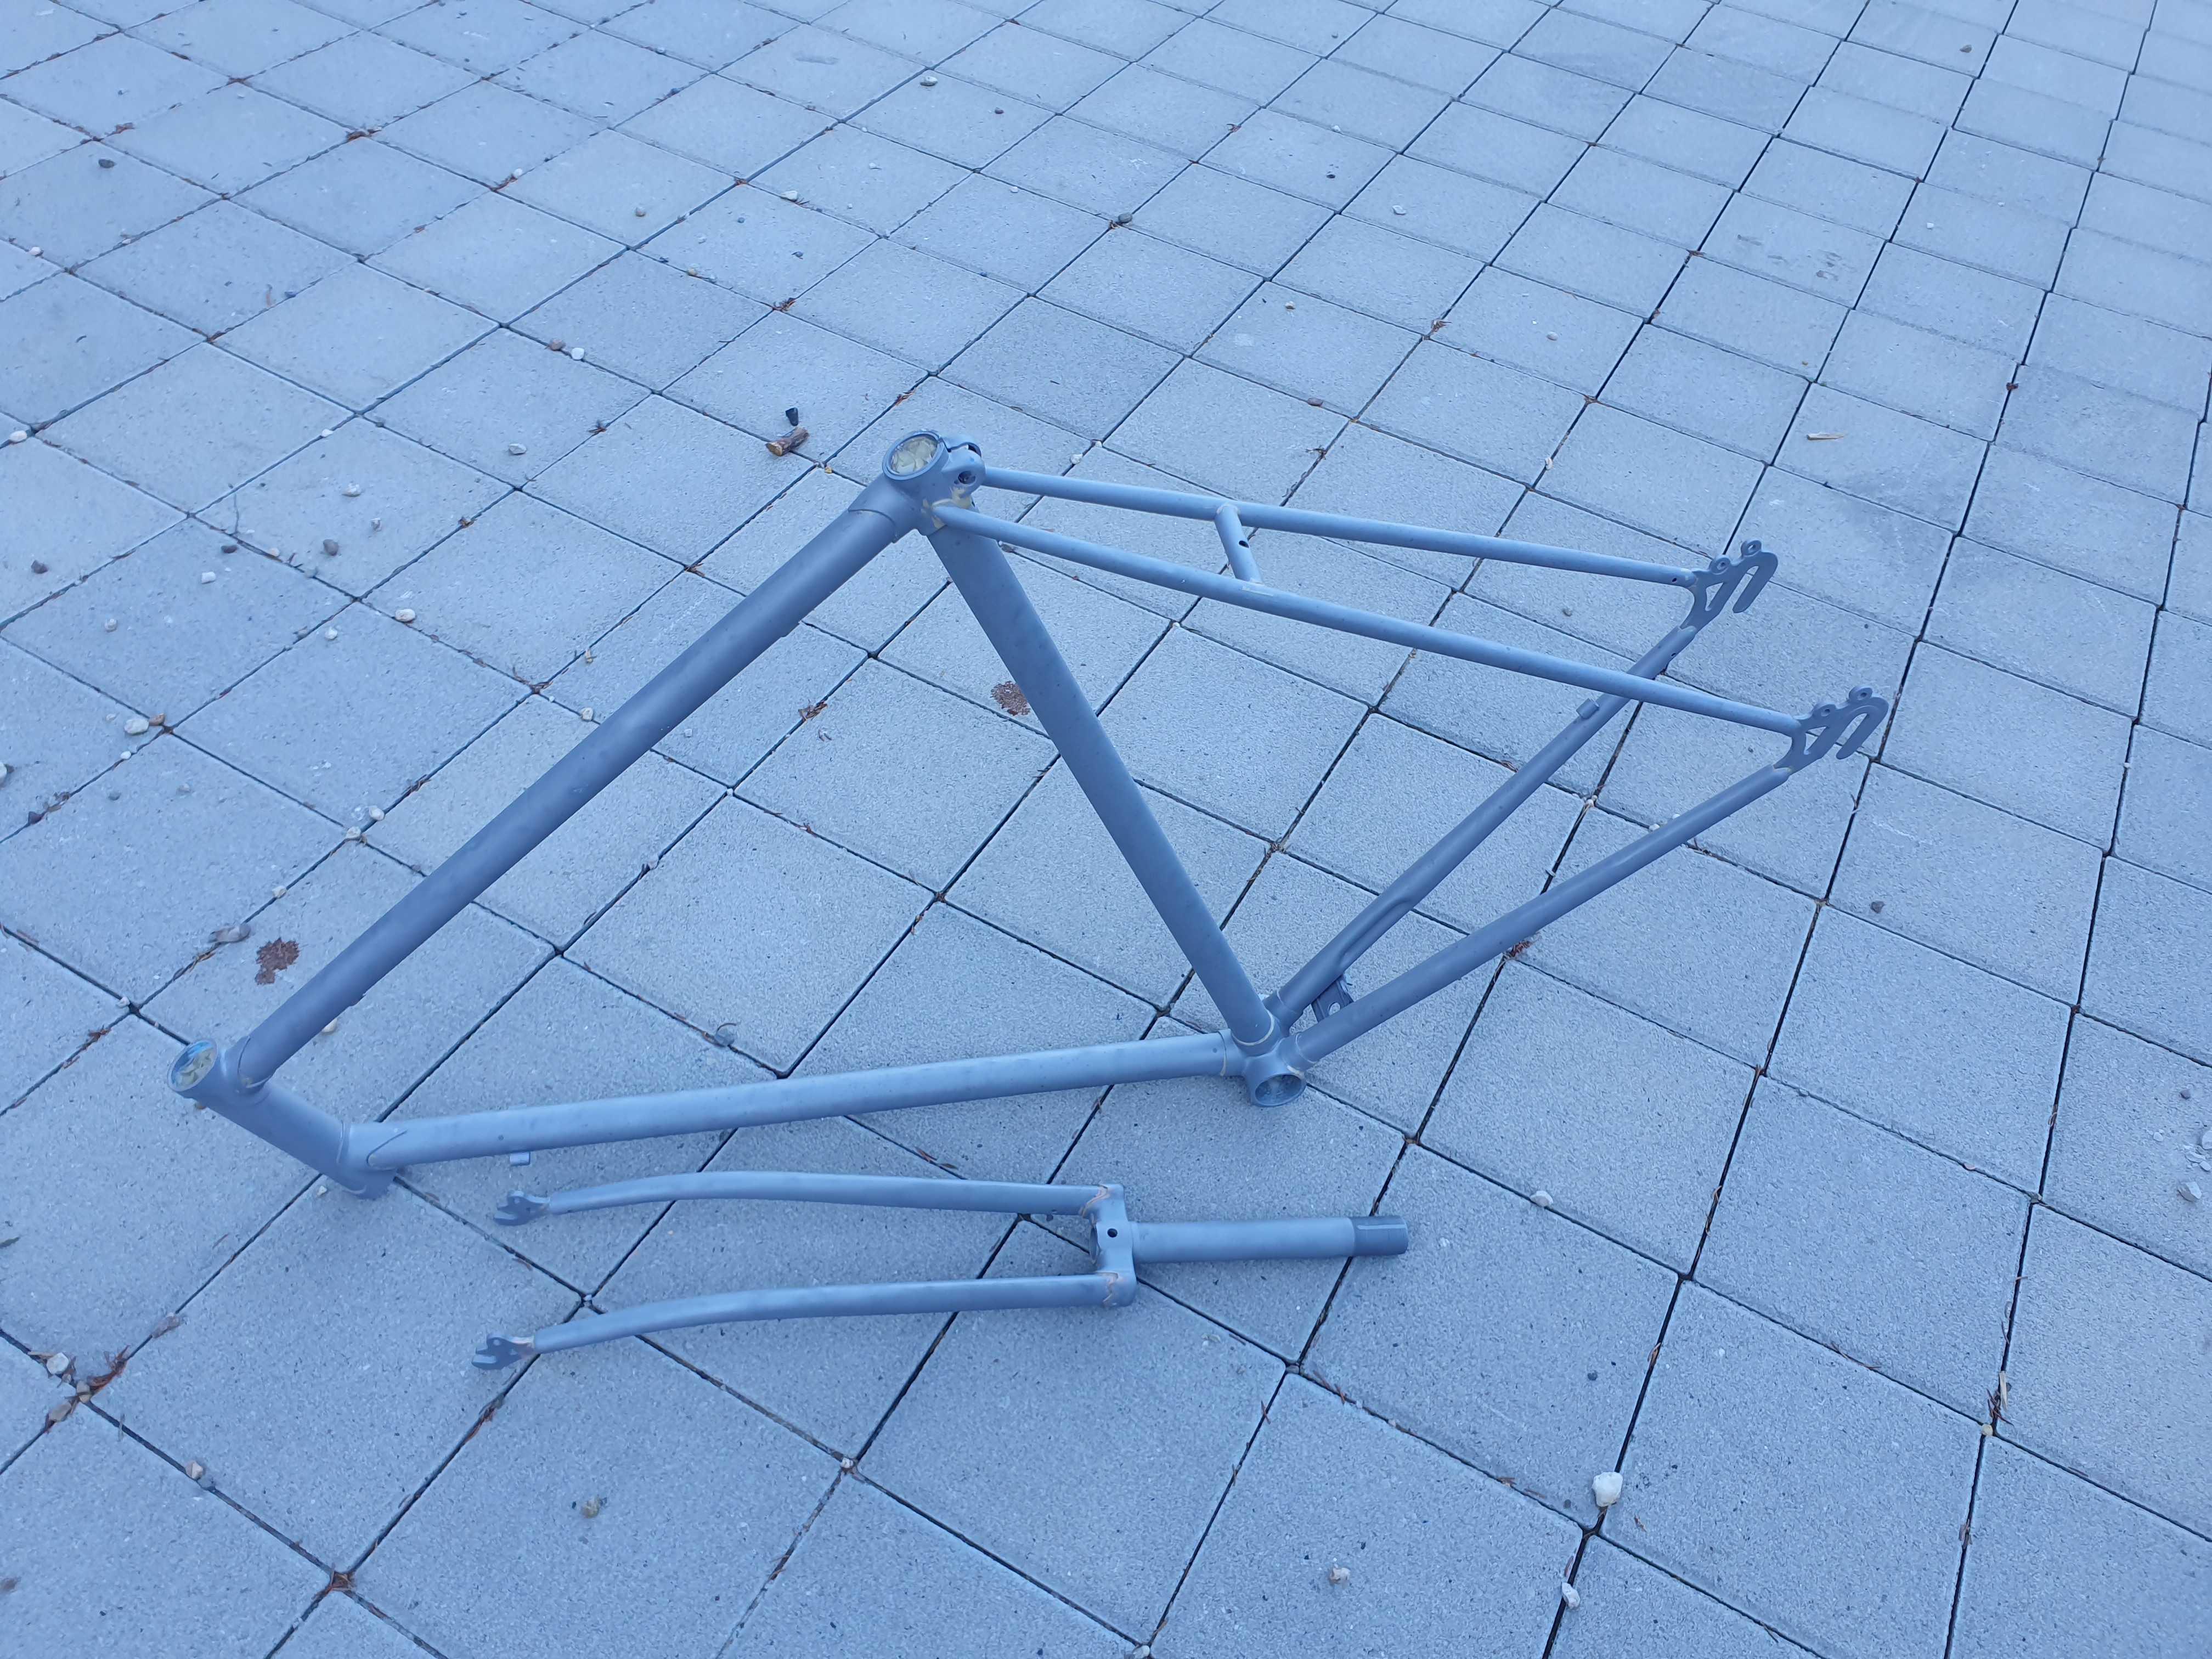
After this planning stage, the fun part begins. I took the bike out to my garage and started the media blasting to remove all the paint from it. I have an air compressor, blasting machine and glass beads for this job. it works really well and leave the metal frame in its original coat needing a good spray of primer to protect it.
After spraying the primer it is time to start work on the colour, this is done over three layers with drying time in between. it can take a while to complete this stage but the time spent doing it worth it.

Then we added the decals to the frame. In this case it was just the decal for my shop. After adding the decals we put a few layers of clear lacquer onto the frame to smooth it out and protect the frame from scratches.
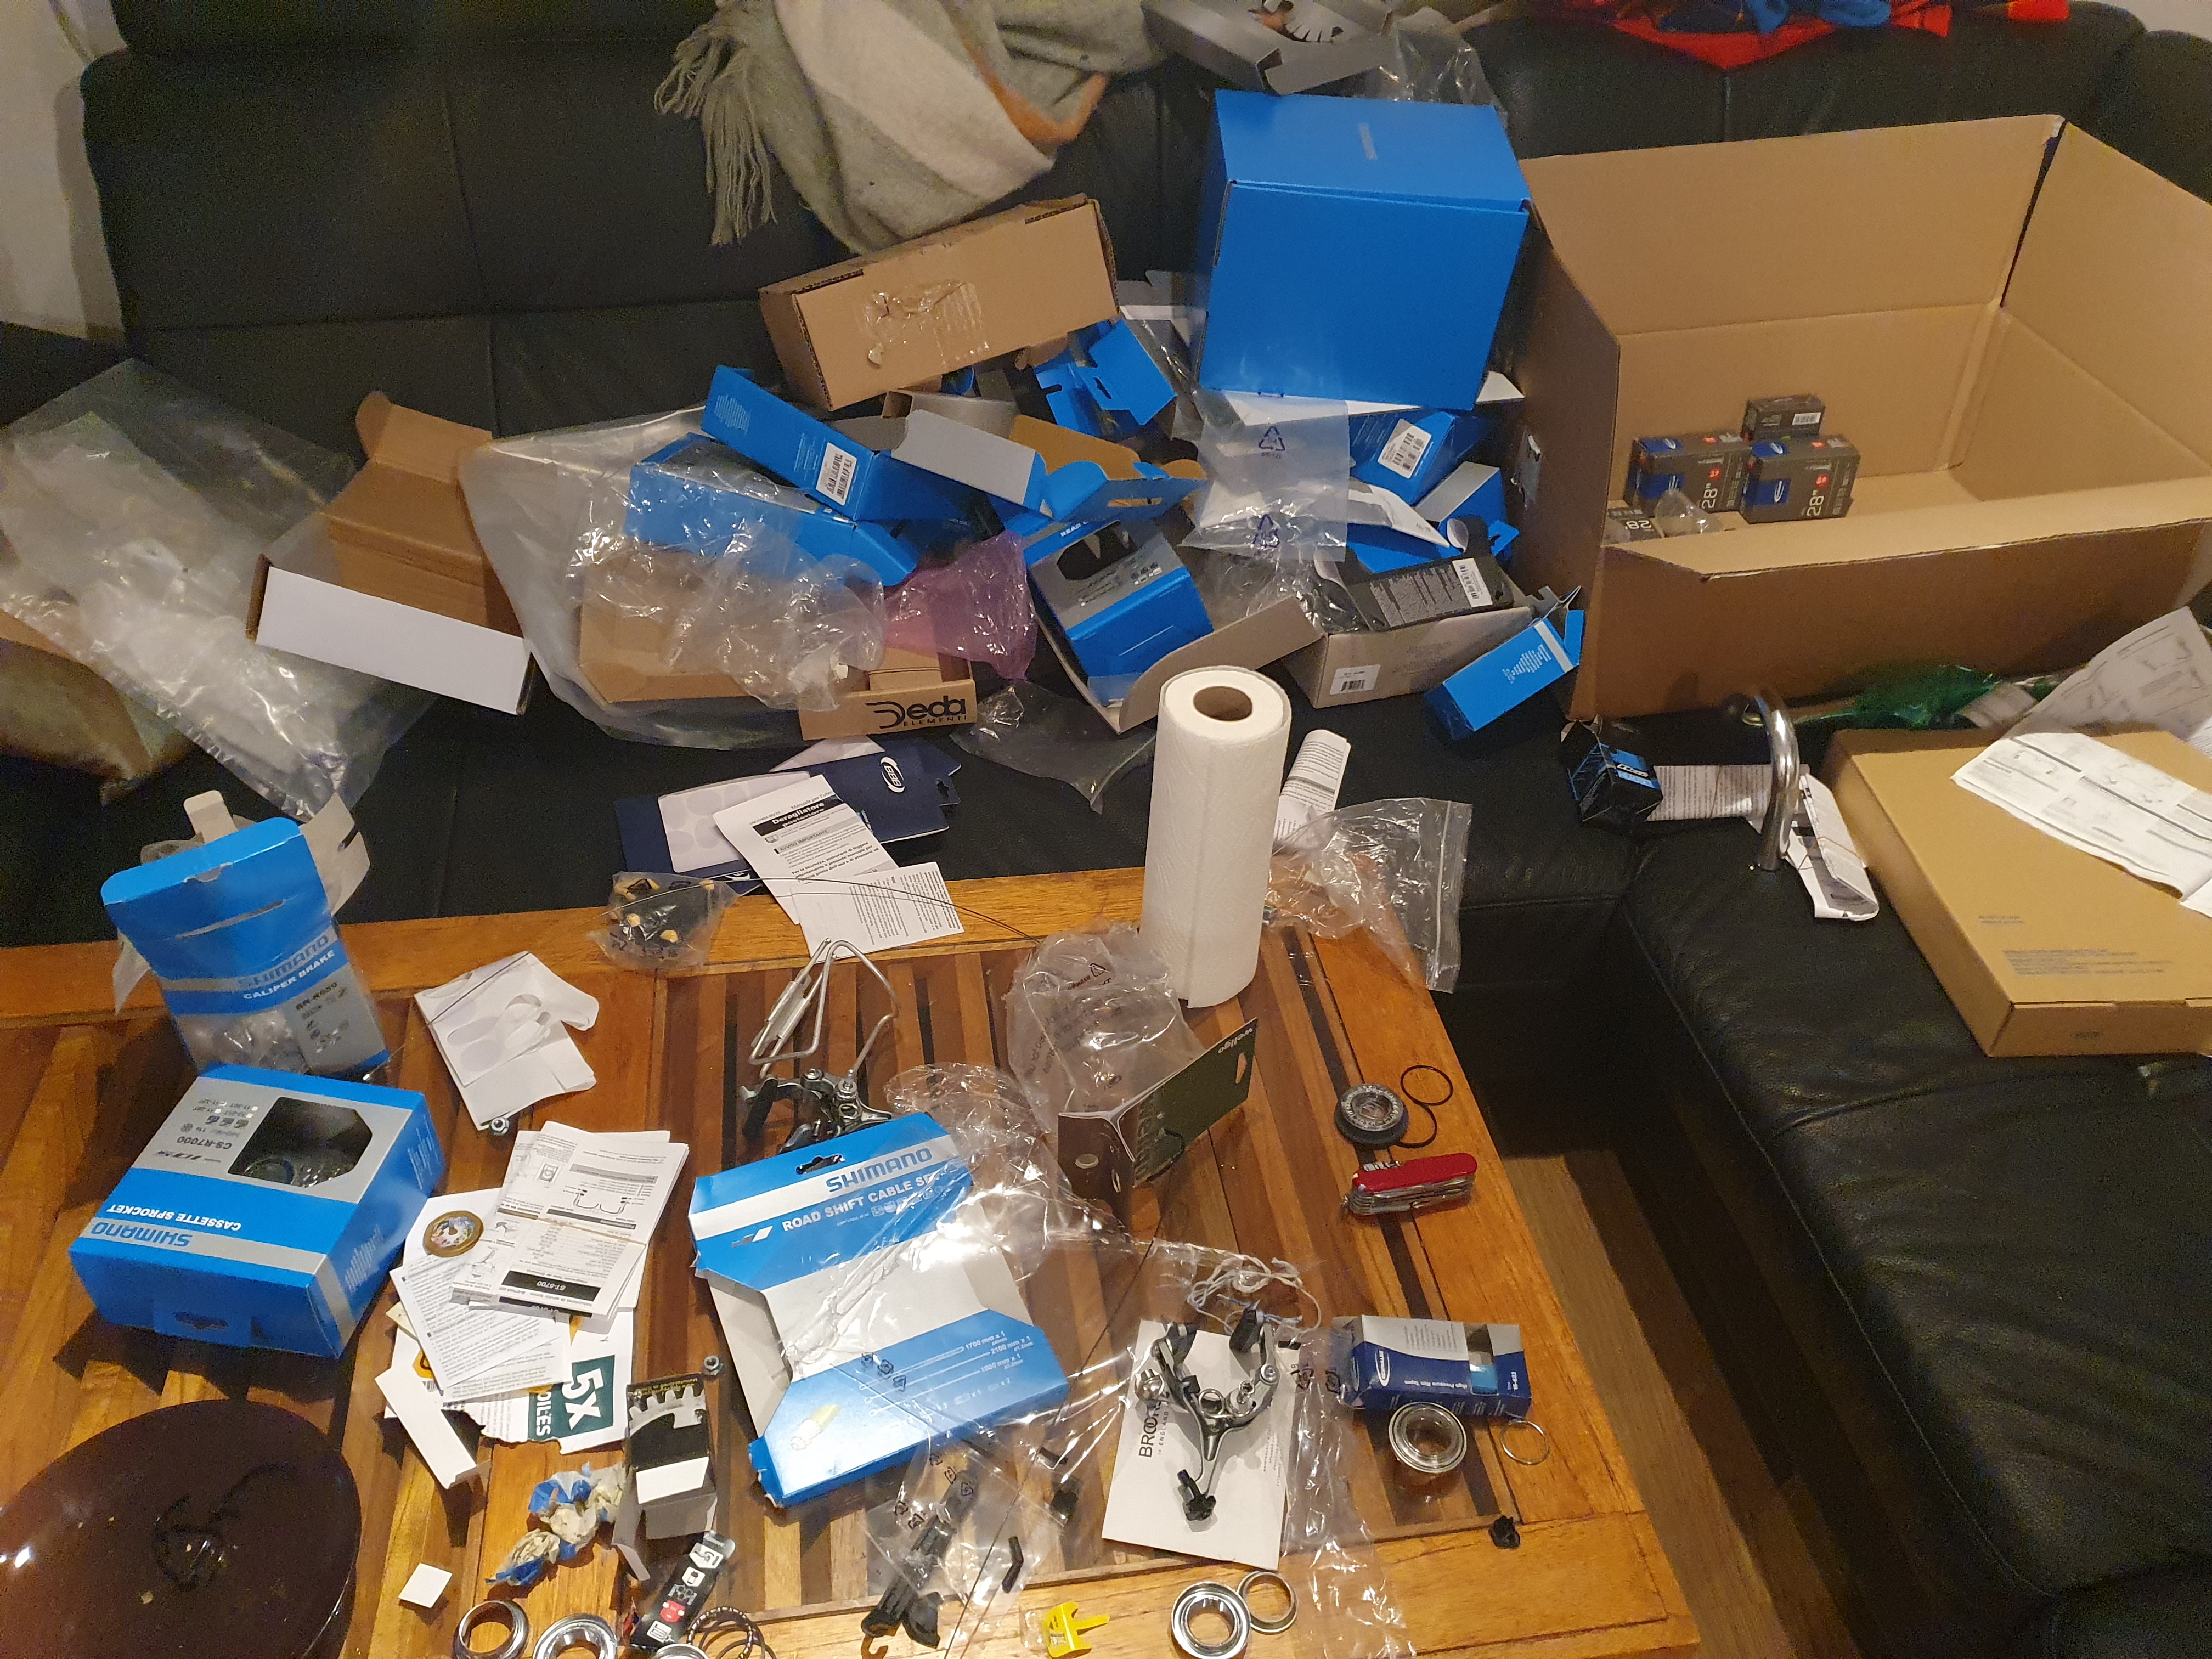
After all of this it is time to start building the bike. All the components arrived in individual wrapping which made for a lot of waste as you can see from the picture but I got all the parts onto the bike. It is interesting working with an old frame and trying to put new components onto it. Some things just done fit the way you want or need them. For instance, I had to add a dropout claw onto the rear to get the rear derailer onto the bike. The brakes sit at a different position to standard modern bikes and so I had to redrill the frame a little to get the holes in a better position and everything needs to sit in just the right place to work correctly. It took quite a few minor adjustments while on our cycling holiday to get all the setting just right, but riding the bike is the only real way to get everything to settle into place. Some glue was also needed and plenty of patience to get it all right. But eventually the final bike was completed and ready to be delivered and ridden.
If you are interested in a custom bike as well then please get in touch as I still have a few frames available to build on.